Commit
Commit
Published on February 08, 2024.
git config
Change your local or global setup. Configure your name and e-mail
git config --global user.name <NAME>

git config --global user.email <Email>

git config --list
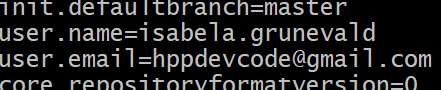
If you are using GitHub is recommended to set your local Git config name and e-mail same as uset at GitHub account.
git status
Show the state of the current working directory and the staging area.
git status
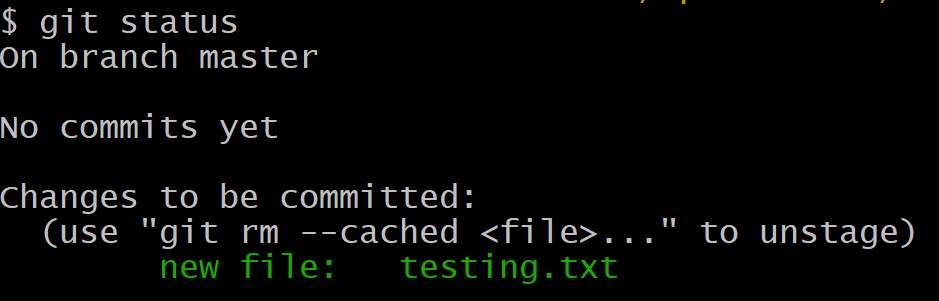
There are no commits yet in our project, but there is change to be committed. These changes are allocated in the staged area (index)
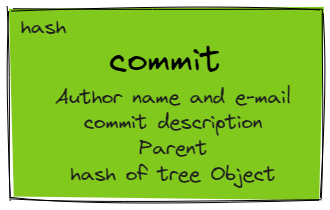
git commit
it allows storing in the database different versions of our project (snapshots)
Commits have similar structure as blob or tree
Let´s try our first commit
git commit -m "Our first commit!"

After commit a new object commit file was created (hash e5bbf15)

We can see the type of the file with the command git cat-file

The size

And finally, the content

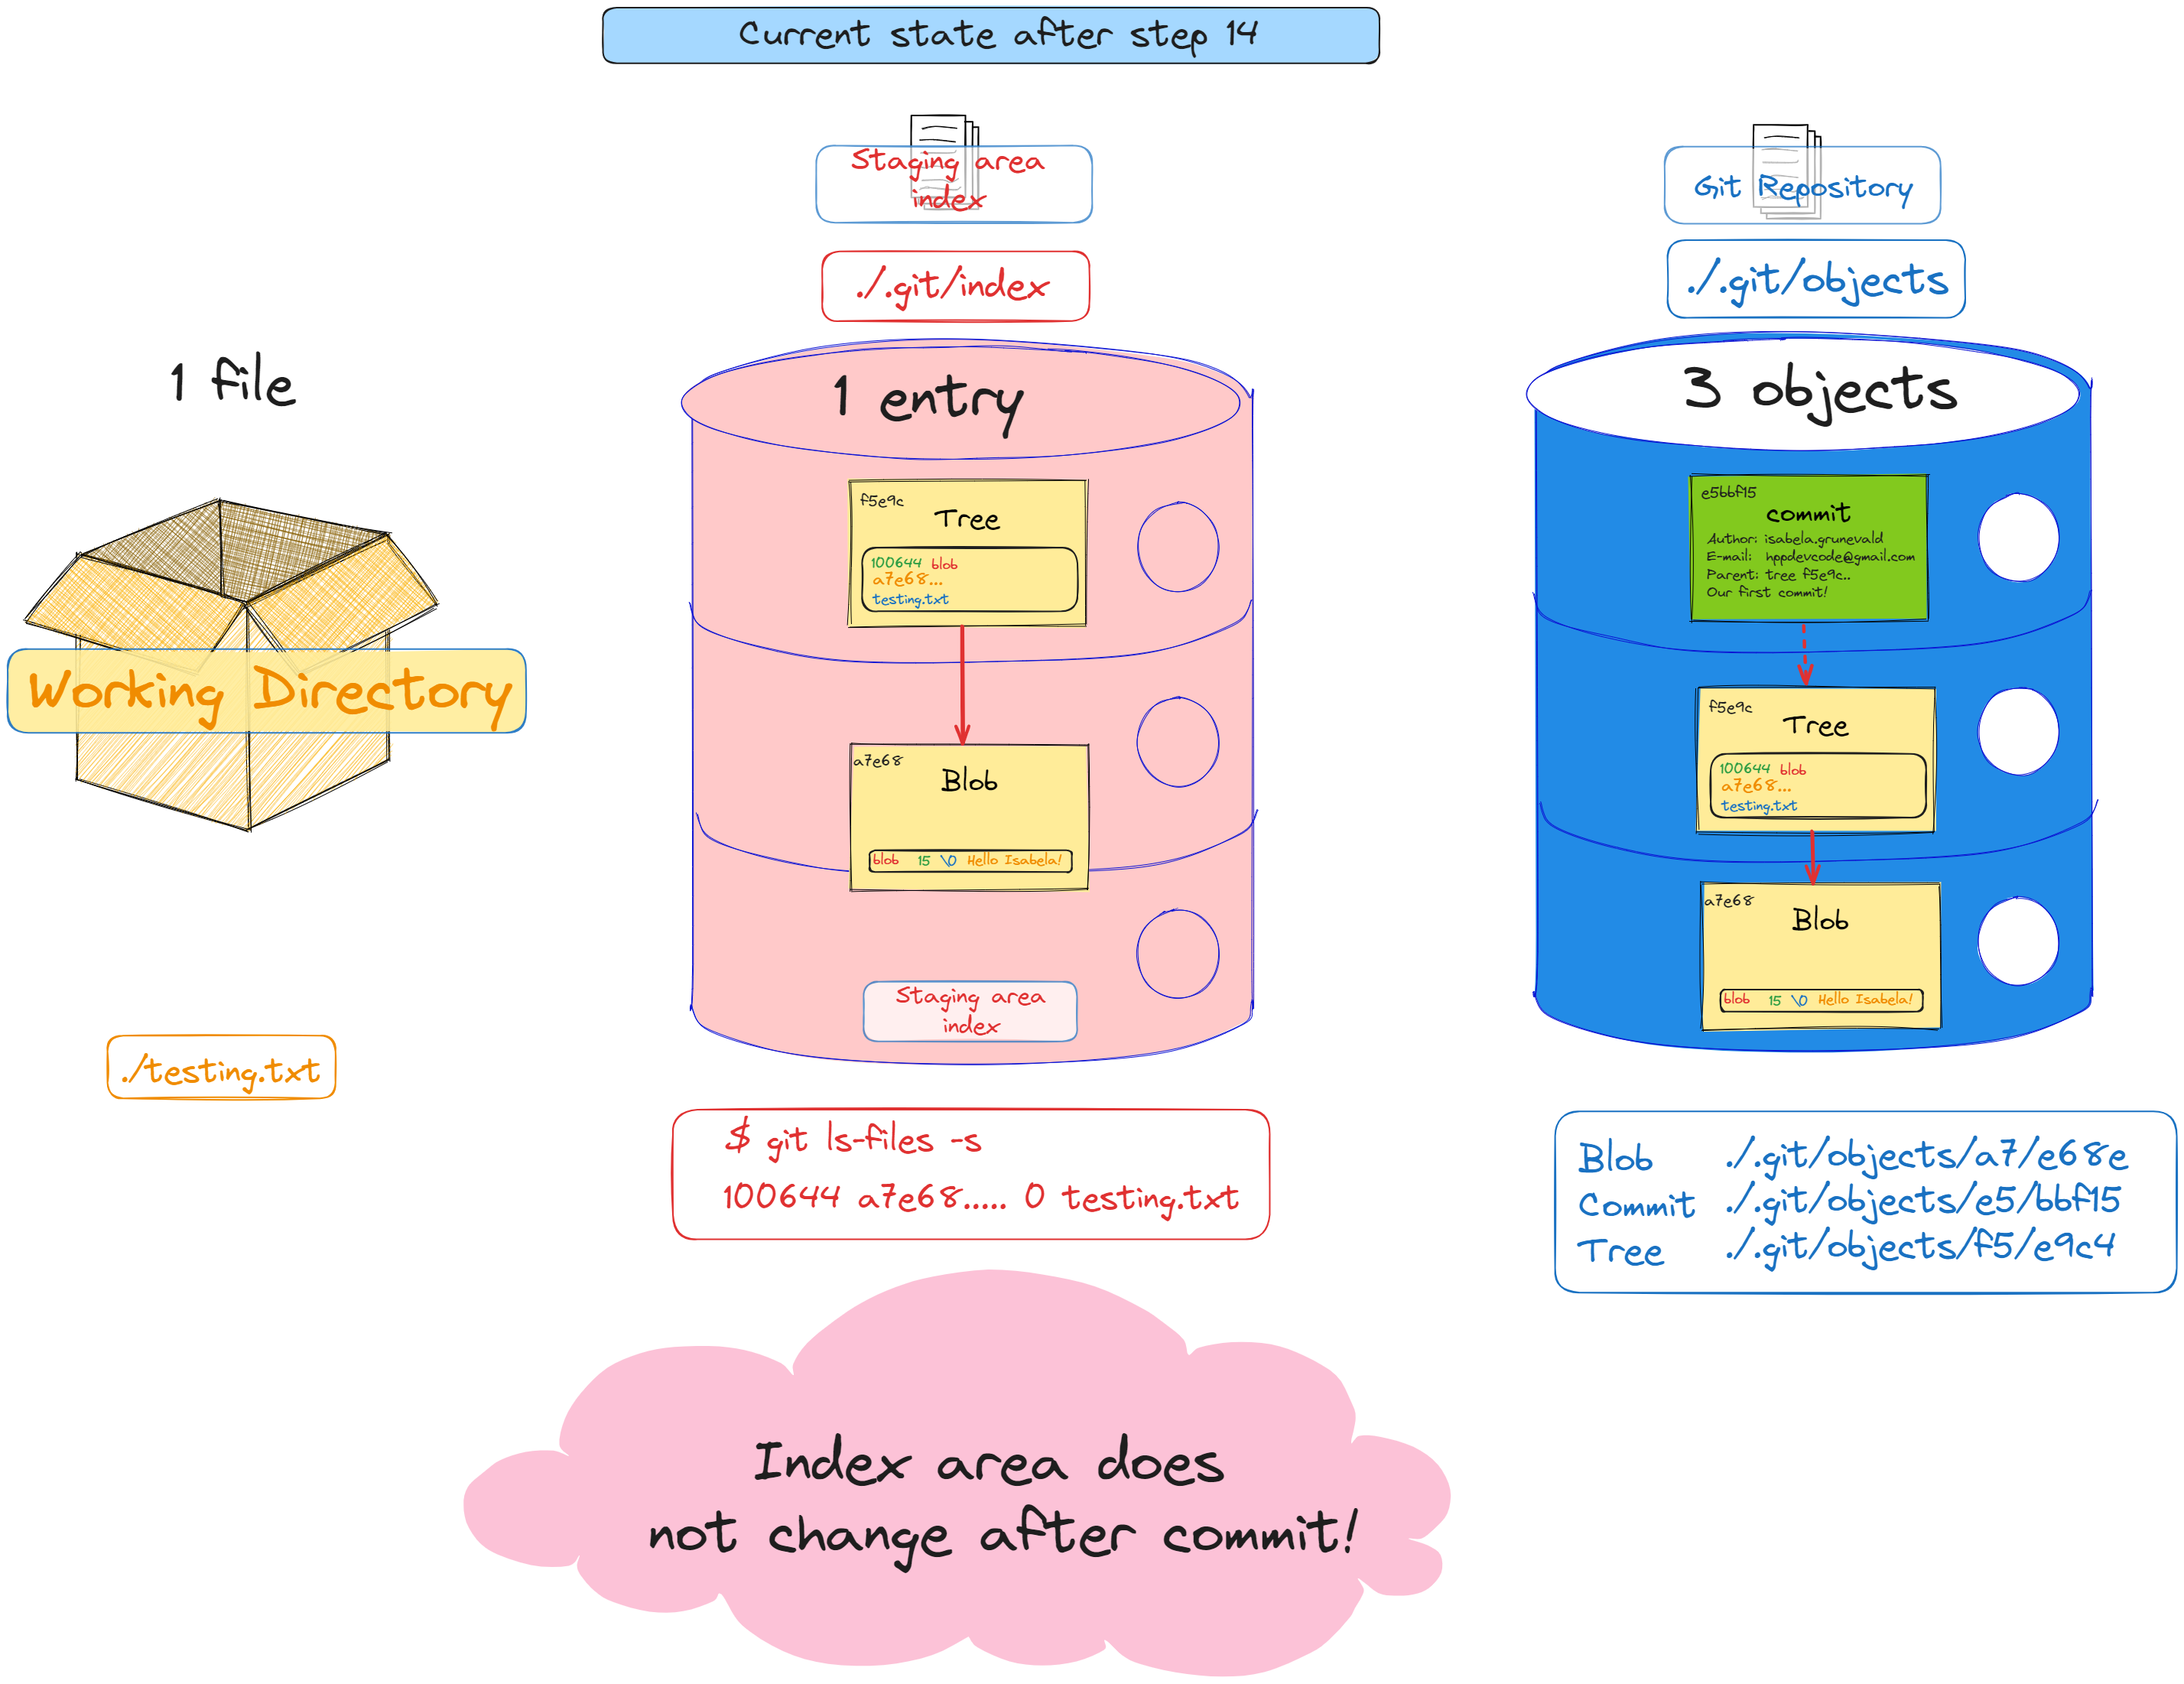
The staging area (index) does not change after commit
And the status message says there's nothing to commit.

git log
Enables to browse previous change to a project
if you type git log, you can see the change history
As you would expect, there´s only a single commit
git log

if you want a pretty output in console, try:
git log --graph --decorate --pretty=oneline --abbrev-commit
To create an alias called tree is very easy
git config <level> alias.<alias name> '<your sequence of git commands>'
Possible scopes:
--global level are available for all the repos for the current user
--system level are available for all the users/repositories
Default is repository level configs are only available for the current repo
git config --global alias.tree 'log --graph --decorate --pretty=oneline --abbrev-commit'

git tree

git blame
The blame command is a Git feature, designed to help you determine who made changes to a file line by line. I is used to show what revision and author last modified each line of a file. It's like checking the history of the development of a file.
git blame file1.txt
git blame --after=2023-01-01 file1.txt
git blame --since=3.weeks file1.txt
git blame --before="2 weeks ago" file1.txt
git add
Moves changes from the working directory to the staging area.
Let´s create another file
echo "This is a new file" > file2.txt
if you verify the current state of the repository now
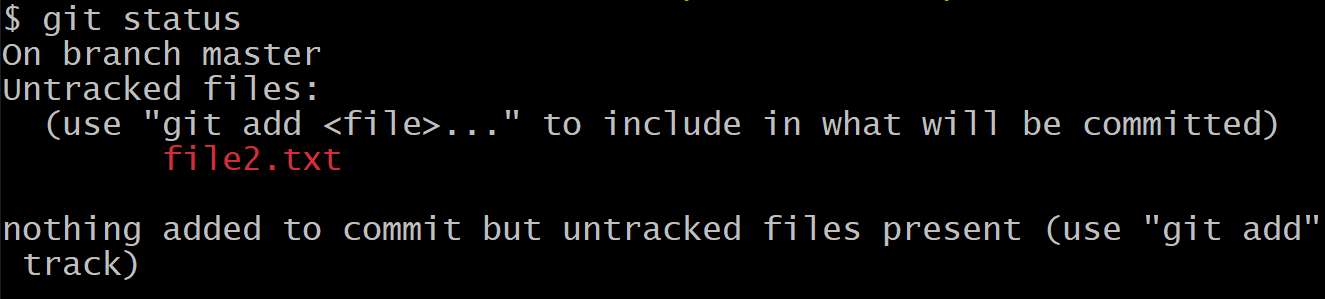
The new file will be warning as a untracked file.
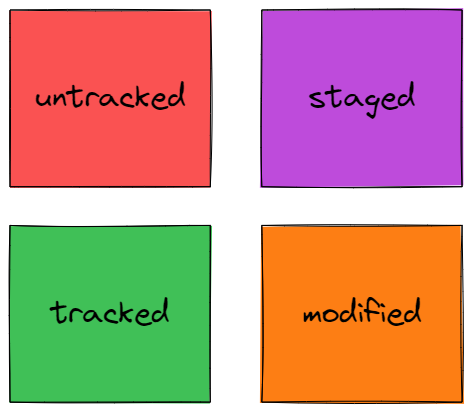
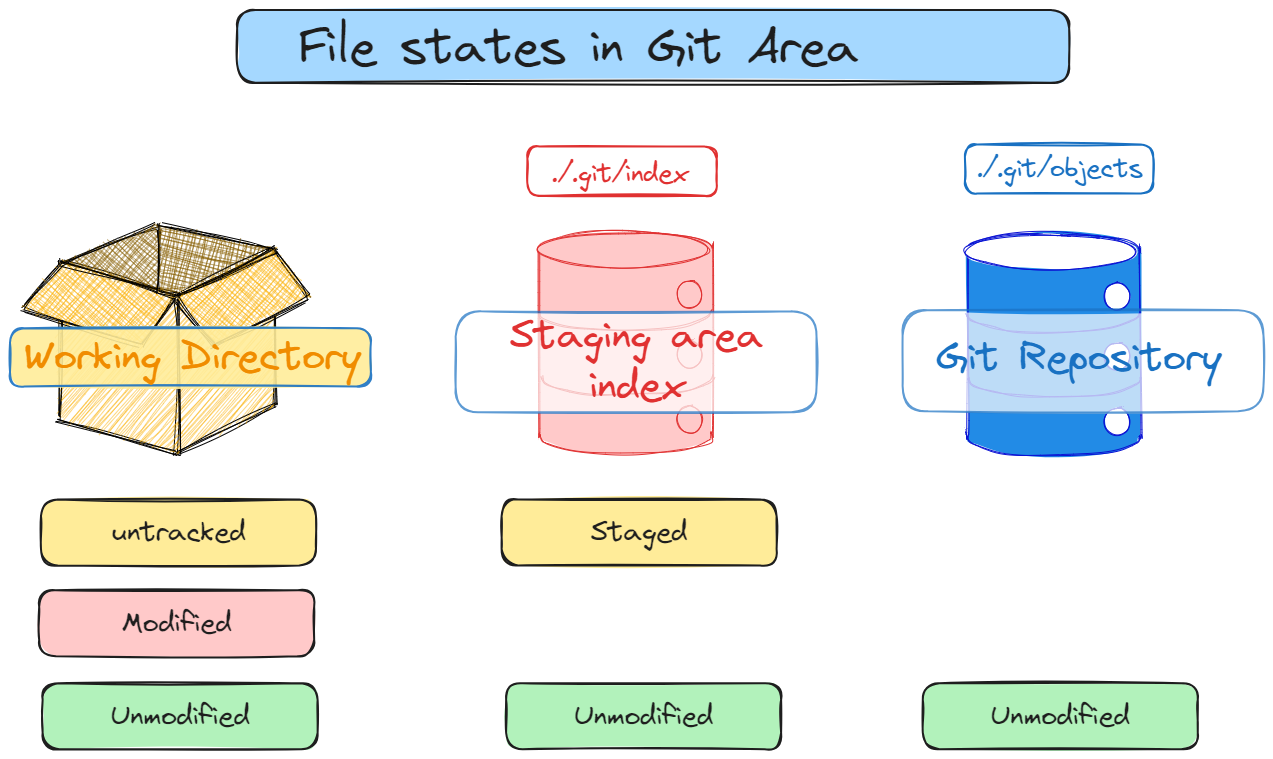
There are usually 4-file tracking statuses possible
These tracking statuses have generally the following lifecycle
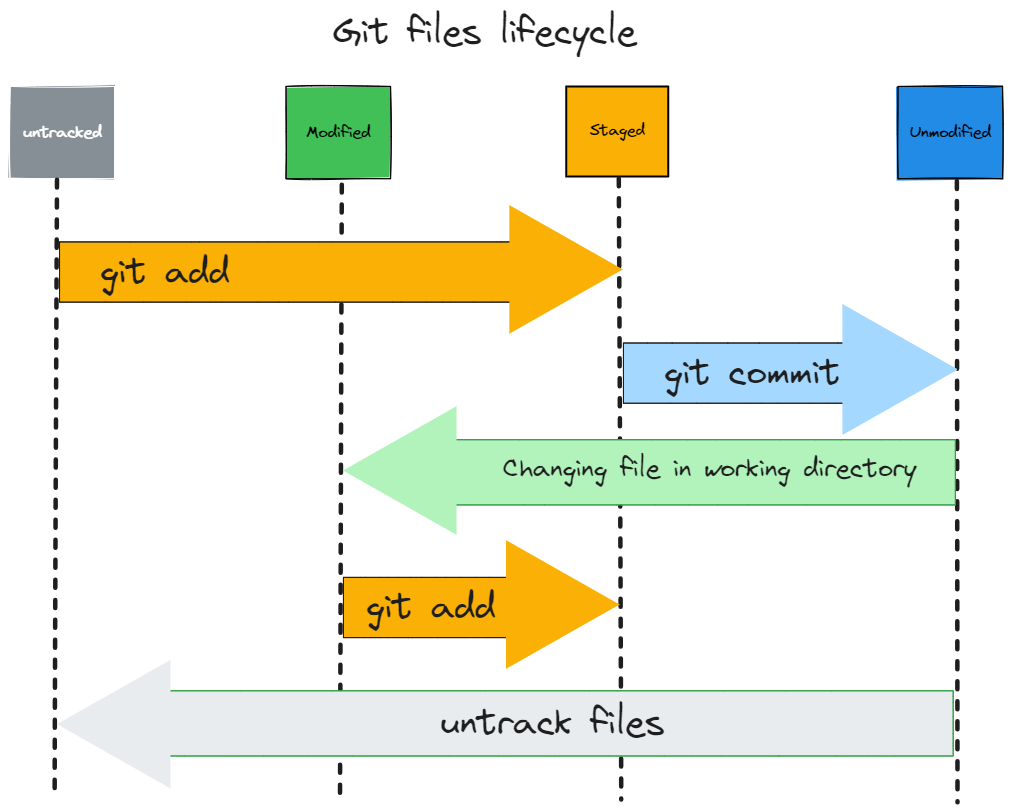
The files will be moved to the stage area
git add file2.txt

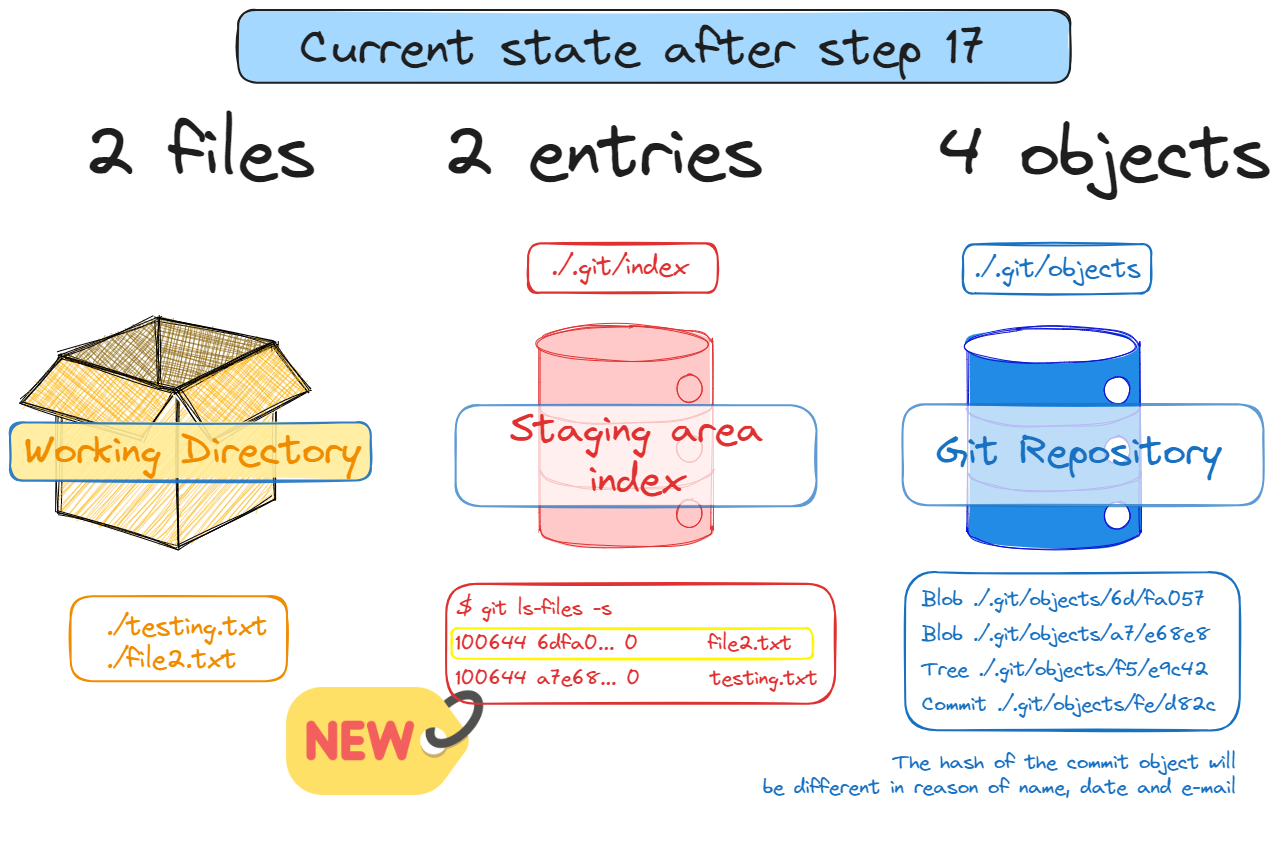
If you commit accidentally, you can untrack a file committed by mistake you can git rm --cache
git rm --cache file2.txt

The file file2.txt was removed from the staging area (but it remains on the working directory).

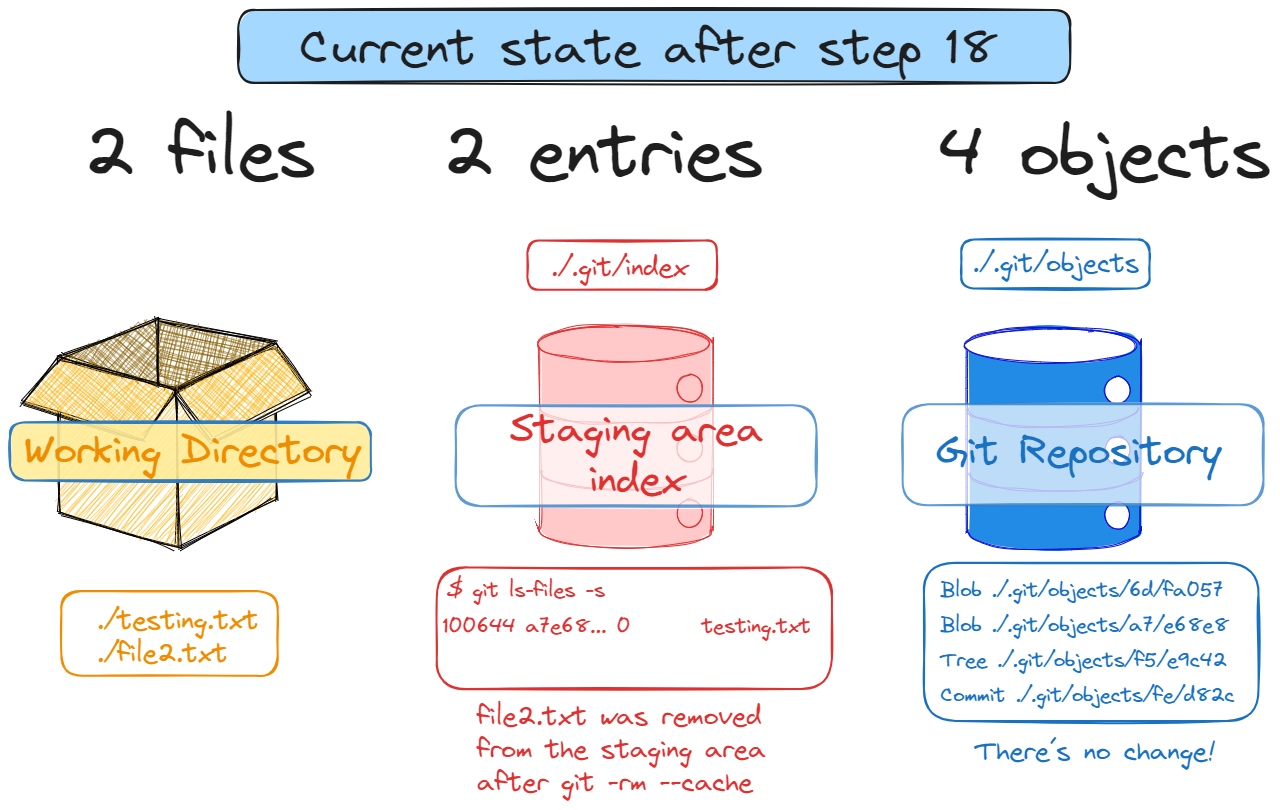
If you list the files on the staging area, it will not be there any more
git ls-files -s

The file file2.txt was removed from the staging area, but it remains on the working directory
ls -la
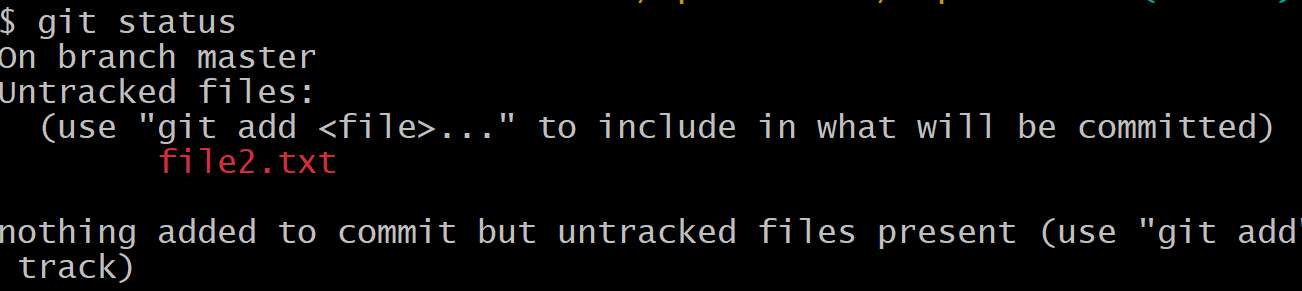
We return to the situation before git add
git status
So we add it again
git add file2.txt

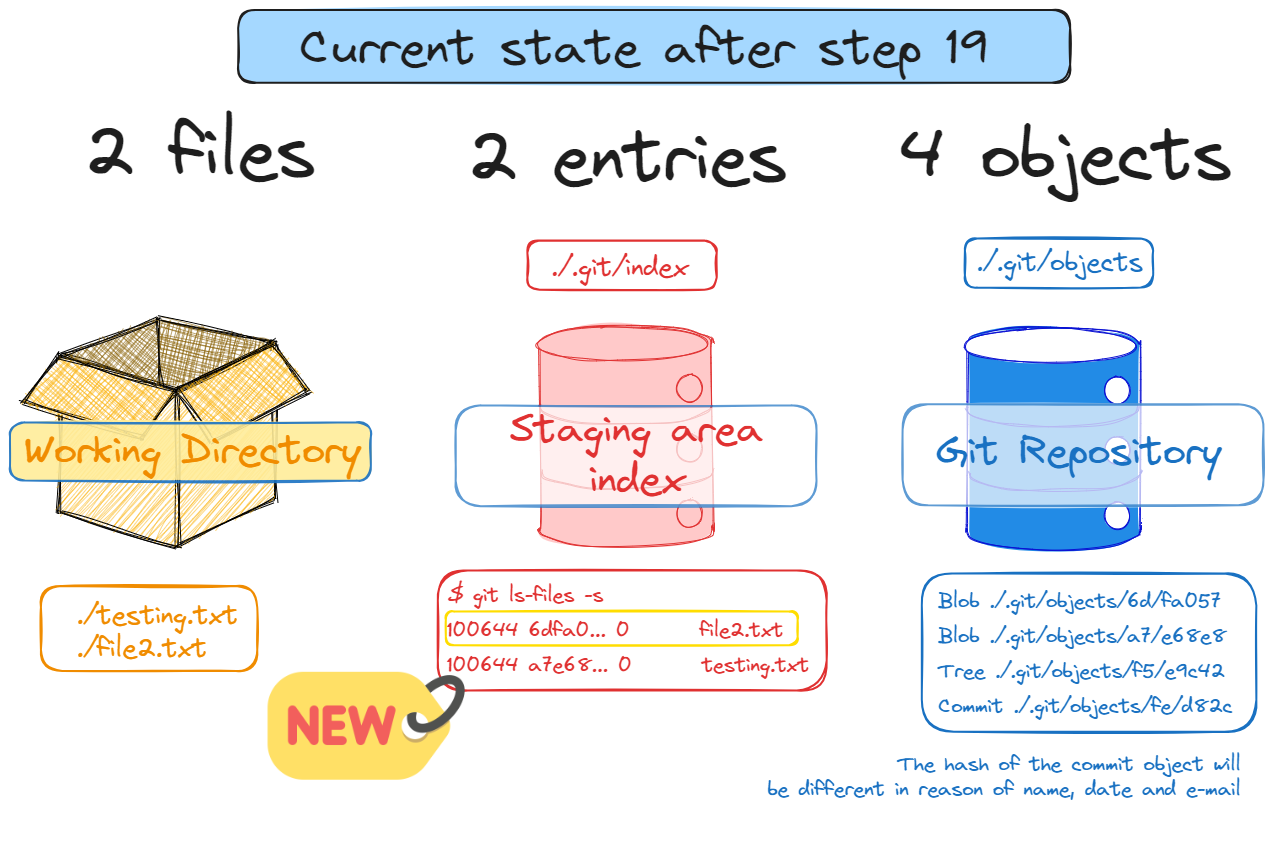
And the file will return to the staging area
git ls-files -s

git status

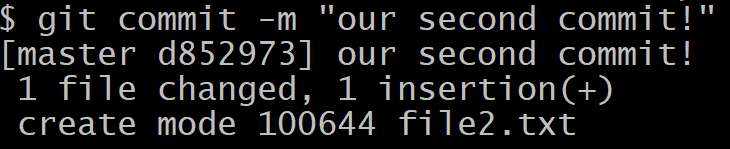
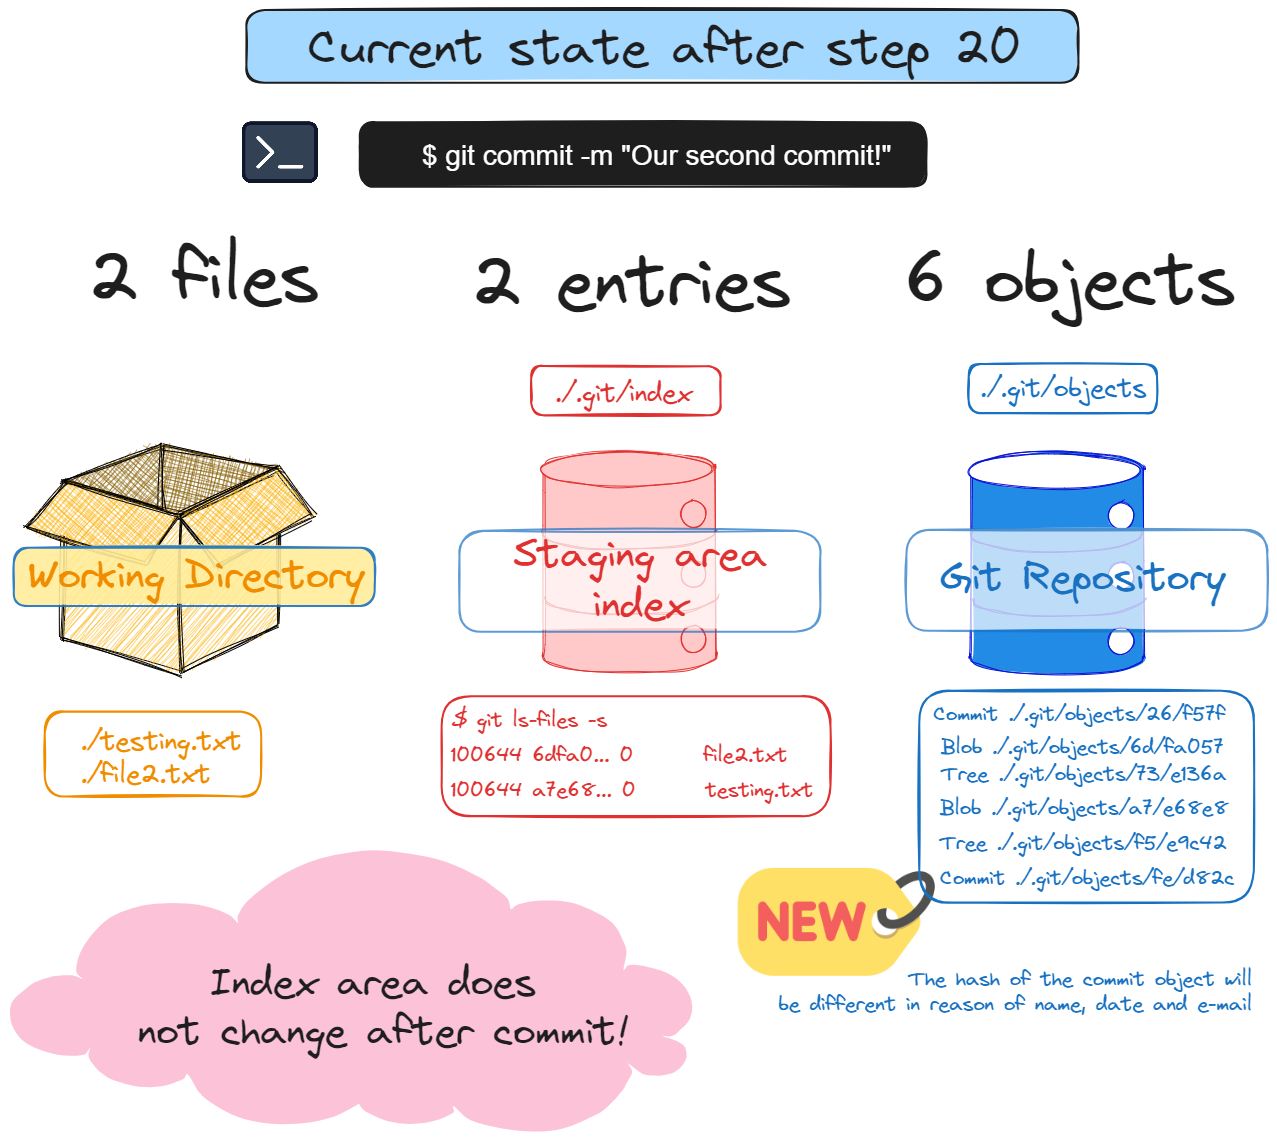
After commit, 2 objects will be created (commit object file and a tree object file). A commit is just a wrapper for the tree object file.
git commit -m "Our second commit!"
Summary
# step 14
git status
# step 15 - Create a commit and a tree object
git commit -m "Our first commit!"
# Create a new file
echo "This is a new file" > file2.txt
# Add file2.txt to the stash (index)
git add file2.txt
# Remove file2.txt from the index
git rm --cache file2.txt
# Add file2.txt to the index
git add file2.txt
# Create a commit and a tree object
git commit -m "Our second commit!"